
The Complete Guide to Painting Exterior Wood
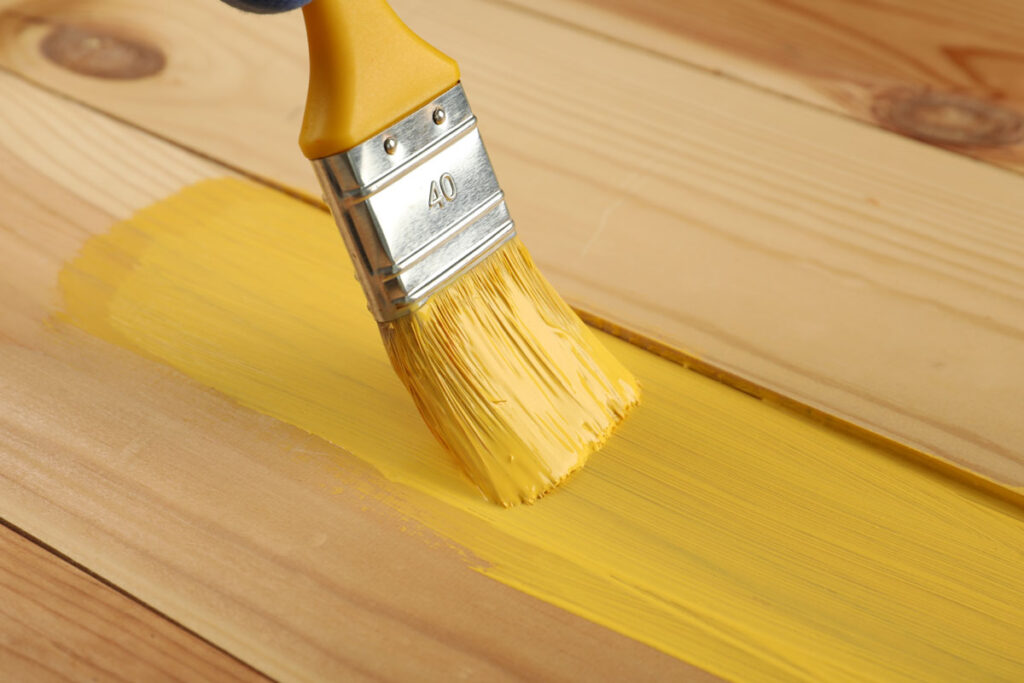 Everything you need to know about choosing, preparing and painting exterior timber for a beautiful, long-lasting finish.
Whether you’re refreshing a garden fence, protecting timber cladding, repainting wooden windows or restoring exterior doors, choosing the right exterior wood paint is essential. The correct product not only transforms the appearance of your timber but also provides vital protection against the British weather, helping to prevent moisture damage, UV degradation, peeling and premature rot.
However, with so many exterior wood paints, stains and oils available, it can be difficult to know which product is right for your project. Should you choose a paint or a stain? Is an oil a better option? Do you need a primer? And how should you prepare the surface to ensure the finish lasts for years rather than months?
In this guide, we’ll explain everything you need to know, from selecting the right coating to preparing your timber and applying it correctly. We’ll also recommend suitable products for different applications, helping you achieve a professional-quality finish that stands the test of time.
Why choosing the right exterior wood paint matters
Exterior timber is constantly exposed to changing weather conditions. Rain, frost, sunlight, humidity and temperature fluctuations all affect the condition of the wood.
Without proper protection, timber can:
- Absorb moisture and swell
- Crack and split as it dries
- Fade due to ultraviolet (UV) exposure
- Develop mould or algae
- Peel or blister if an unsuitable coating has been used
- Begin to rot over time
Choosing a high-quality coating designed specifically for exterior wood helps to protect against these issues while enhancing the natural beauty of the timber.
The best product for your project depends on several factors, including:
- The type of timber
- Whether the wood is new or previously coated
- The level of weather exposure
- Whether you want an opaque or natural finish
- How much maintenance you’re prepared to carry out
Understanding these factors will help you select a coating that offers both the appearance and durability you’re looking for.
Exterior wood paint, wood stain or wood oil?
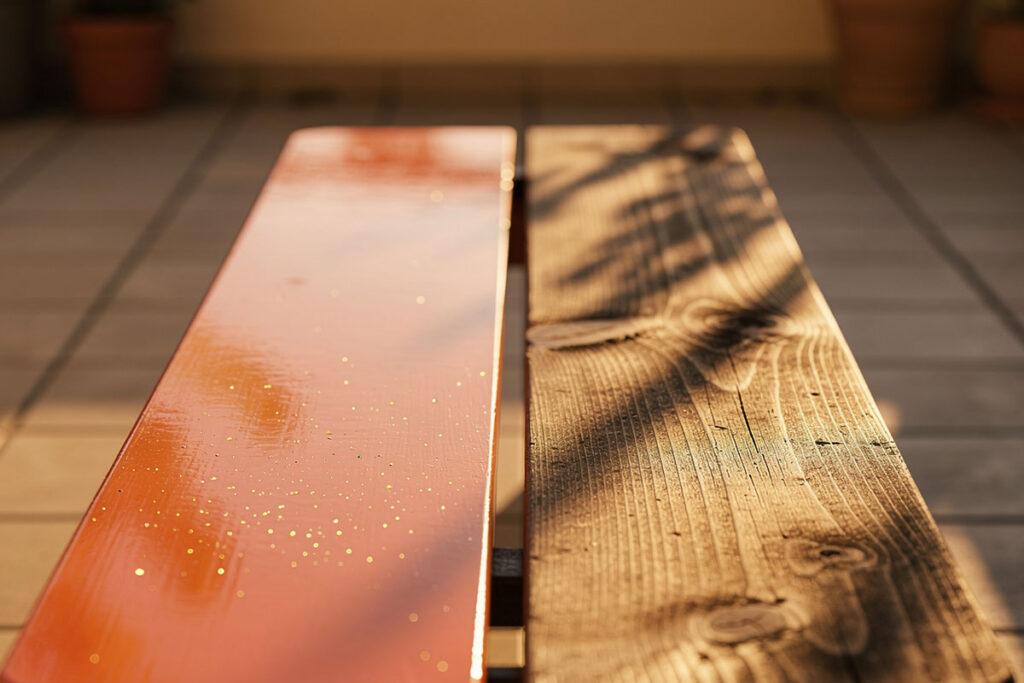
One of the most common questions is whether to use a paint, stain or oil. Although they all protect timber, they work in different ways.
When to choose exterior wood paint
Paint creates an opaque finish that completely covers the timber. It’s the best choice when:
- Changing the colour of the wood
- Protecting softwood joinery
- Painting windows and doors
- Painting cladding
- Achieving a modern decorative finish
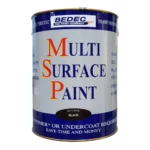
For many exterior joinery applications, Bedec MSP is an excellent all-round solution. It provides a flexible, microporous coating that allows timber to breathe while resisting peeling and cracking, making it particularly suitable for the UK’s changing weather conditions.
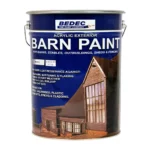
Where a highly durable finish is required on sheds, barns or agricultural buildings, Bedec Barn Paint offers exceptional weather resistance while adhering to a wide variety of exterior surfaces.
When to choose a wood stain
Wood stains protect timber while allowing the natural grain and texture to remain visible. They’re ideal for:
- Garden buildings
- Timber cladding
- Pergolas
- Fences
- Exterior joinery where a natural appearance is preferred
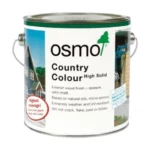
For premium protection with a translucent finish, Osmo Natural Oil Woodstain combines natural oils with long-lasting weather protection, helping timber resist moisture while retaining its character.
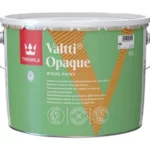
For users looking for an exceptionally durable decorative finish, Tikkurila Valtti Opaque offers outstanding colour retention and weather resistance while allowing timber movement.
When to choose a wood oil
Unlike paints and stains, wood oils penetrate into the timber rather than sitting on the surface. This makes them particularly suitable for:
- Hardwood furniture
- Cedar
- Oak
- Exterior joinery
- Timber that expands and contracts significantly
For hardwoods and exterior timber requiring deep nourishment, Owatrol Textrol is one of the most respected penetrating oils available. Rather than forming a surface film that can peel, it penetrates the wood fibres to restore colour while providing excellent weather protection.
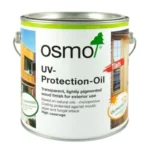
Where UV exposure is the primary concern, Osmo UV Protection Oil helps reduce greying caused by sunlight while maintaining a natural appearance.
Choosing the right product for your project
Every project has slightly different requirements.
Garden Fences
A penetrating wood stain or oil generally offers easier maintenance than an opaque paint, particularly on rough sawn timber.
Recommended products:
Garden Sheds
Sheds benefit from coatings that resist rain while allowing moisture trapped within the timber to escape.
Recommended products:
Timber Cladding
Cladding experiences significant expansion and contraction throughout the seasons. Microporous coatings that move with the timber generally perform better than rigid paints.
Recommended products:
Exterior Doors
Doors require excellent weather resistance while maintaining an attractive finish.
Recommended products:
Windows
Exterior windows experience frequent movement and moisture. Flexible microporous paints provide excellent durability while helping reduce cracking and peeling.
Recommended product:
Garden Furniture
Furniture benefits from penetrating oils that nourish the timber and make future maintenance straightforward.
Recommended products:
Preparing exterior wood before painting
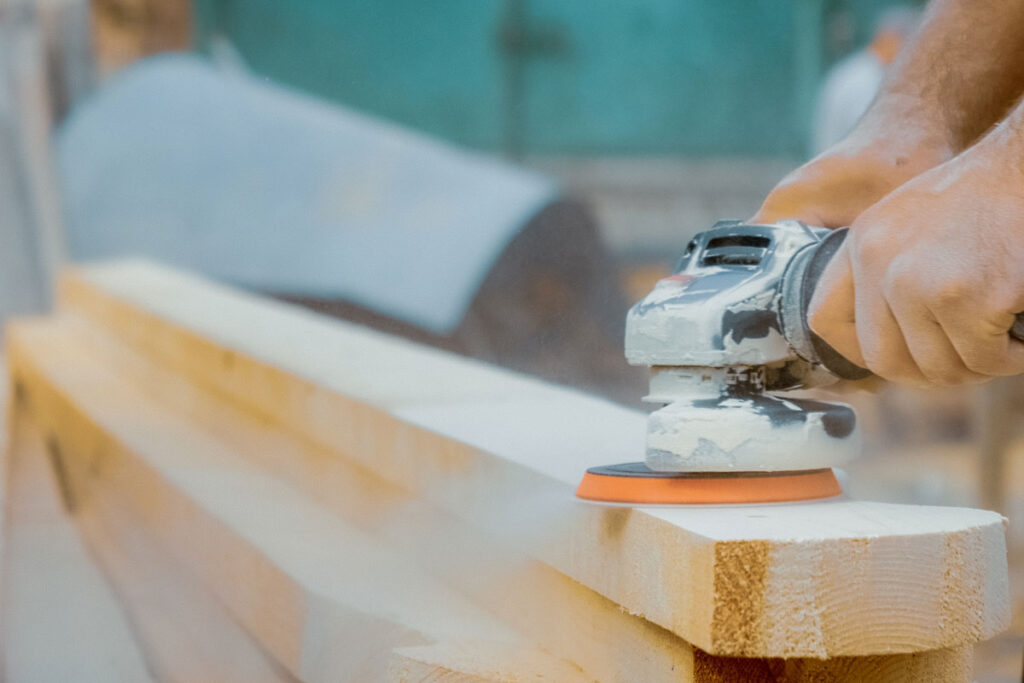
Even the highest quality exterior wood paint will fail if applied to a poorly prepared surface. Professional decorators often say that successful painting is 80% preparation and 20% application. Taking the time to prepare the timber correctly will dramatically improve adhesion, appearance and longevity.
Step 1: Inspect the timber
Before opening a paint tin, inspect the wood carefully and look for:
- Rot
- Loose joints
- Splits
- Nail pops
- Flaking paint
- Mould
- Algae
- Grease or contamination
Any structural repairs should be completed before decorating begins.
Step 2: Clean the surface
Remove dirt, dust, cobwebs, algae and mildew using an appropriate exterior cleaner. Allow the timber to dry completely before moving on to the next stage. Painting damp timber is one of the most common causes of coating failure.
Step 3: Remove loose coatings
If the timber has previously been painted, remove all loose or flaking material using a scraper, wire brush, sandpaper or even a mechanical sander, where appropriate. There’s no need to strip back to bare wood if the existing coating remains sound and well adhered. Instead, feather the edges to create a smooth transition between old and new coatings.
Step 4: Sand the surface
Light sanding improves adhesion while creating a smoother finish. Make sure you always sand along the grain using progressively finer abrasives and remove any dust thoroughly afterwards. Pay particular attention to end grain, which absorbs significantly more moisture than flat surfaces. Sealing these vulnerable areas helps prolong the life of the coating.
Step 5: Repair imperfections
Fill holes, cracks and damaged areas using a suitable exterior wood filler. Allow your repairs to cure fully before sanding smooth. Once repaired, the surface should feel even with no sharp edges or loose fibres remaining.
Do you need to prime exterior wood?
Whether a primer is required depends on the condition of the timber and the coating system you are using.
Always check the manufacturer’s technical data sheet, as some modern coatings are self-priming or can be applied directly to prepared timber. A quality primer improves adhesion, seals porous timber and creates a more even finish, particularly when changing from a dark colour to a lighter one.
Choosing the right weather
One of the biggest reasons exterior paint fails is poor application conditions. You should avoid painting when:
- Rain is forecast within the drying time
- Timber is damp
- Temperatures are below 8°C (unless the product states otherwise)
- Temperatures exceed around 25°C in direct sunlight
- The surface is extremely hot
- Strong winds are carrying dust or debris
The ideal conditions are:
- Dry weather
- Mild temperatures
- Low humidity
- Overcast or lightly cloudy skies
Painting in direct sunshine may seem like a good idea, but it often causes the coating to dry too quickly, reducing flow and increasing the risk of brush marks or lap marks.
How to apply exterior wood paint
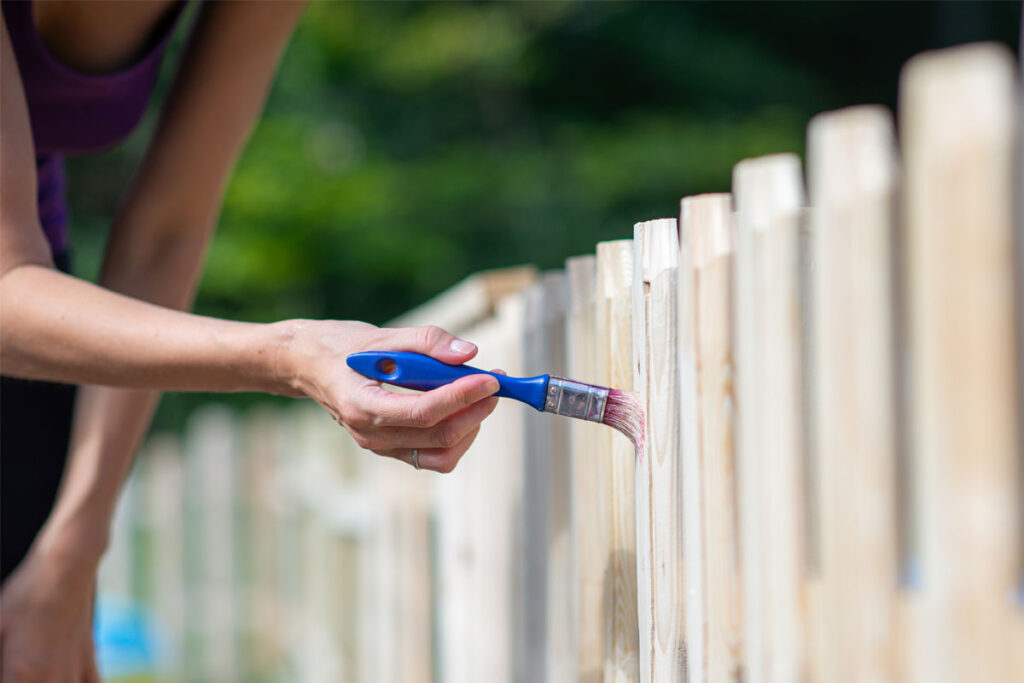
Once the timber has been properly prepared, applying the coating correctly is straightforward.
Step 1: Stir the paint thoroughly
Pigments and additives naturally settle during storage. Always stir the product thoroughly before use to ensure an even colour and consistent performance. Continue stirring occasionally throughout larger jobs.
Step 2: Cut in first
Use a high-quality brush to paint corners, any edges, window frames, around hinges and fittings and other areas that rollers cannot reach. This provides a neat finish before larger surfaces are coated.
Step 3: Apply thin, even coats
Rather than applying one thick coat, apply two or three thinner coats. This provides much better adhesion, improved durability, faster drying times, a smoother finish and also reduces the risk of sagging. make sure that you work with the grain wherever possible.
Step 4: Maintain a wet edge
Complete one section before moving on. This helps avoid visible overlaps and lap marks. On larger areas such as cladding, work across a few boards at a time rather than painting individual boards randomly.
Step 5: Allow proper drying time
Drying and recoating times vary between products. Avoid rushing the job. Applying additional coats before the previous one has cured properly can reduce adhesion and affect the final finish. Always refer to the manufacturer’s technical guidance.
Looking after painted exterior wood
Even premium coatings benefit from occasional maintenance. Inspect exterior timber every spring and autumn and look for any small cracks, peeling, mechanical damage, water staining or mould growth. Cleaning off dirt and organic growth before it becomes established can significantly extend the lifespan of the coating.
Rather than waiting for widespread failure, touch up damaged areas promptly to prevent moisture reaching the timber beneath.
Common mistakes to avoid
Many exterior paint failures are caused by simple mistakes during preparation or application, so try to avoid these common problems:
Painting damp timber
Moisture trapped beneath the coating can cause blistering and peeling.
Skipping surface preparation
Painting over dirt, loose coatings or algae dramatically reduces adhesion.
Choosing the wrong product
Not every exterior coating is suitable for every project. For example:
- Decking oils should not be used on windows.
- Fence treatments are unsuitable for doors.
- Interior paints should never be used outdoors.
Always choose a coating designed for the specific application.
Applying thick coats
Although it’s tempting to apply a thicker coating of paint, heavy coats take longer to dry and are more likely to crack. Several thin coats almost always produce a better result.
Ignoring maintenance
Exterior coatings last much longer when minor issues are addressed early. A simple annual inspection can prevent expensive repairs later.
Exterior wood painting checklist
Before you begin, work through this checklist:
✔ Inspect the timber
✔ Repair any damaged areas
✔ Remove dirt, algae and grease
✔ Allow the wood to dry completely
✔ Remove loose paint
✔ Sand the surface
✔ Apply primer if required
✔ Stir the paint thoroughly
✔ Check the weather forecast
✔ Apply thin, even coats
✔ Allow the correct drying time
✔ Inspect annually
Frequently Asked Questions
What is the best paint for exterior wood?
The best product depends on the project. Microporous paints are ideal for windows, doors and joinery, while stains and oils are often better suited to fences, cladding and garden furniture.
Can I paint over old exterior paint?
Yes, provided the existing coating is clean, sound and well adhered. Remove any loose or flaking material before repainting.
How long should exterior wood paint last?
A premium exterior coating can last anywhere from five to ten years depending on the product, the level of exposure and how well the surface was prepared. Regular maintenance can extend this significantly.
Is paint or stain better for exterior wood?
Neither is universally better. Paint provides complete colour coverage, while stain preserves the natural appearance of the timber. The right choice depends on the desired finish and the level of protection required.
Can I paint treated timber?
Yes, although newly pressure-treated timber should usually be allowed to weather and dry before painting. Always follow the treatment manufacturer’s guidance.
When is the best time of year to paint exterior wood?
Late spring through to early autumn generally provides the best weather conditions, provided temperatures remain within the product’s recommended application range and rain is not forecast during drying.
Recommended products for exterior wood projects
Promain offers a wide range of specialist coatings for every type of exterior timber project. Some of the most popular options include:
If you’re unsure which coating is right for your project, the Promain technical team can provide expert advice based on the timber type, existing finish and level of weather exposure.
Need more guidance for painting exterior wood?
Painting exterior wood is about far more than improving appearance. The right preparation, product selection and application technique will protect timber from the elements, extend its lifespan and reduce long-term maintenance costs.
Whether you’re refreshing a garden fence, protecting timber cladding, restoring exterior joinery or maintaining commercial buildings, choosing a high-quality coating designed for the specific application is the key to a durable finish.
By taking the time to prepare the surface properly and applying the coating under the right conditions, you’ll achieve a professional-looking result that lasts for years.
If you’re unsure which product is best, browse Promain’s range of exterior wood paints, stains and oils or contact our technical team for expert guidance.